Terminology
SkyBox is the name of a cloud service that we make available to you through your FastTrack Automation Studio licensing,
which you access at
www.skyboxinventory.com.
There is no additional cost to use SkyBox as long as your executing computers are licensed and within maintenance period.
SkyBox consists of two services: Inventory and Jobs. The Inventory service can be used without using
Jobs, but not the other way around, because Jobs use inventory data to filter Job executions.
The inventory part of SkyBox has its own documentation page
here
and cloud jobs have their own documentation page
here.
This matrix shows which features are available in which edition of FastTrack Automation Studio.
| |
Cloud Inventory
Edition |
Enterprise
Edition |
Platinum
Edition |
| Hardware inventory |
 |
|
|
| Software inventory |
|
|
|
| Geographical tracking |
|
|
|
| Custom inventory information from clients |
 |
|
|
| Ability to create and execute scripts |
|
|
|
| Cloud jobs |
|
|
|
| Push MSI files to clients using Cloud Job |
|
|
|
| SkyBox server on own network |
|
|
|
| Log events centrally (requires own server) |
|
|
|
Generating a SkyBox client
To generate a SkyBox client, go to the Home Screen and click the "Cloud Inventory" menu and click "Build Client".
Selecting the menu item starts a wizard and the first step after the welcome page is to decide which type of output file to generate:
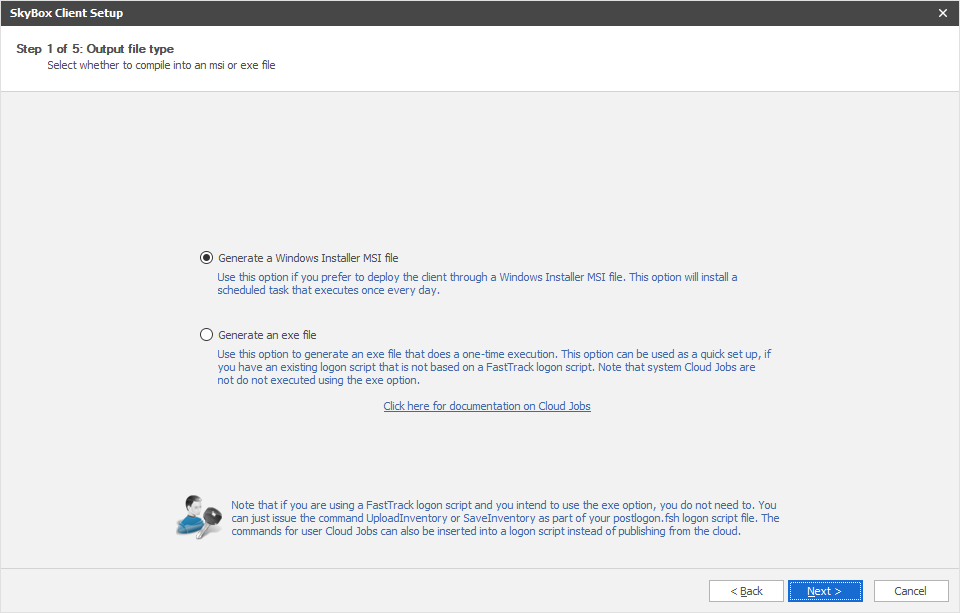
If you are going to deploy with Group Policies, MSI is the favoured method, as this will set up a scheduled task to execute
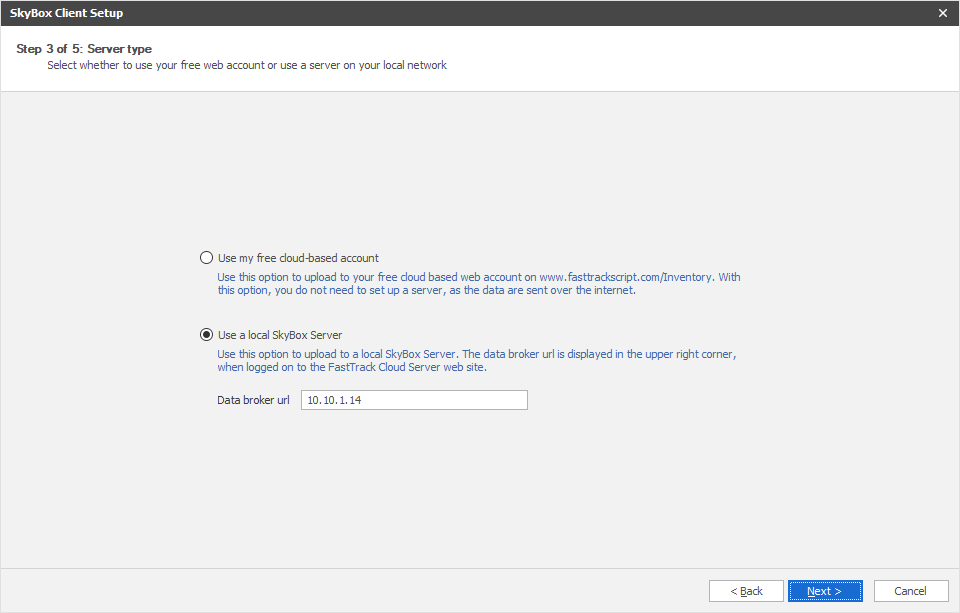
a daily upload. On the next page in the wizard, you need to decide, if the msi or exe file is going to use a cloud-based account or a
local inventory server.
The next pages in the wizard are used for selecting an output file and a complete screen.
Basically what this wizard does is just to build a simple script around the UploadInventory or
SaveInventory command and then it uses the exe or msi file generation features
of FastTrack Automation Studio to build the output file.
Deployment option 1: Deploying an msi through group policies
If you use the MSI feature, the MSI will install a scheduled task that runs daily to upload the data.
To deploy the MSI file through Group Policy management, simply add it as a computer software installation:

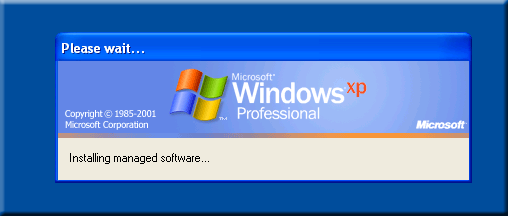
When logging on to a Windows XP computer that is under this group policy, it looks like this for a few seconds.
It takes only a few seconds to install, because the MSI file is only 2 megabytes in size.
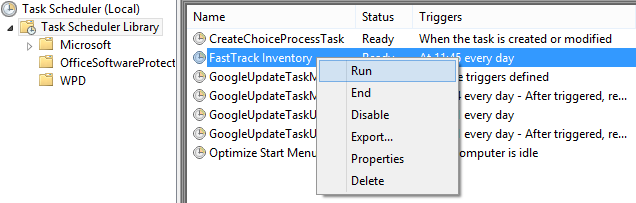
Note that when you deploy an MSI, it will intentionally not do an initial upload on install, because this would
cause all computers to upload more or less at the same time. If you need to test that everything works as intended,
you can go to the scheduled task list on one or more computers and manually start the scheduled task to verify the
data upload, as shown below.
Deployment option 2: Including an exe file in an existing logon script
If you are not using
FastTrack Logon, one way to upload inventory data is to generate an exe client
and simply call it from your current logon script.
If you called the output file "Inventory.Exe", you could put in the netlogon share and simply execute it from there, as shown below with VBScript.
Executing the exe file will normally take about 2 seconds.
Set oShell = WScript.CreateObject("WScript.Shell")
oShell.Run "\\AcmeDom\netlogon\Inventory.exe"
If your client security settings pop up a security warning, you can
get by this by disabling the zone check through the environment variable.
Then the script could look like this:
Set oShell = WScript.CreateObject("WScript.Shell")
set oEnv = oShell.Environment("PROCESS")
oEnv("SEE_MASK_NOZONECHECKS") = 1
oShell.Run "\\AcmeDom\netlogon\Inventory.exe"
oEnv.Remove("SEE_MASK_NOZONECHECKS")
Deployment option 3: Deploying an exe through group policies
Another option is to execute a generated exe file through group policies based on another event than
the log on process, such as logoff, startup or shutdown.
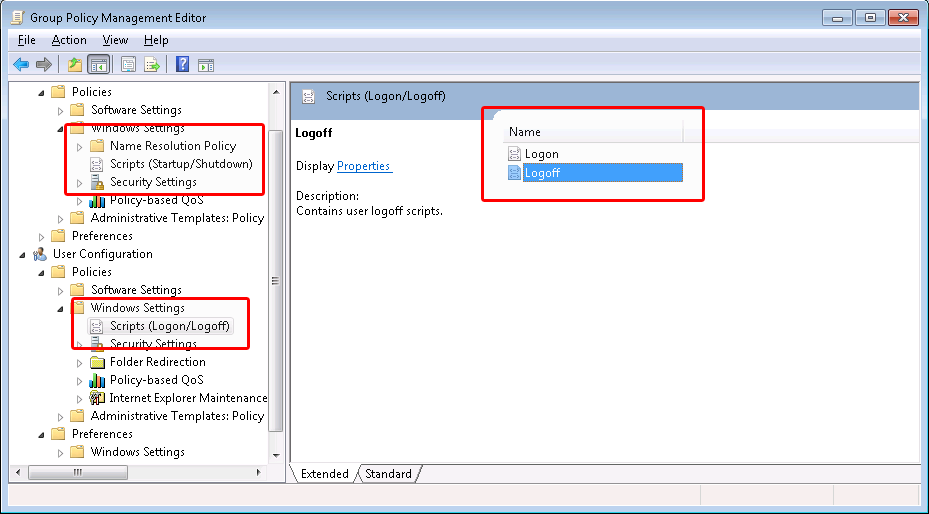
If we wanted to execute an inventory exe at logoff to get the most recent information,
we could simply add the inventory.exe as a logoff script. First we need to locate the user
logoff script GPO property:
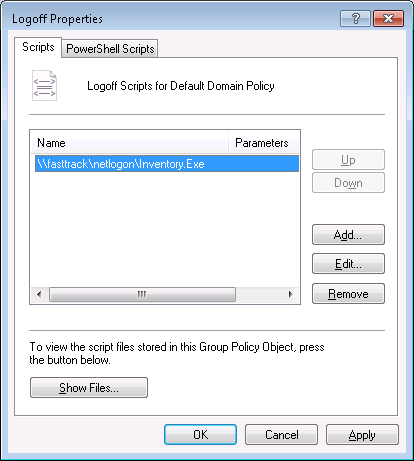
If the domain was "FastTrack" and we have put the Inventory.Exe in the root of the netlogon share, we simply
add it as a logoff script:
Click here to go to the main inventory page.