Disclaimer
Please note that if you deploy the free version of TeamViewer, you are responsible for checking whether you fulfill the current conditions
to use it for your purpose or not.
Repackaging
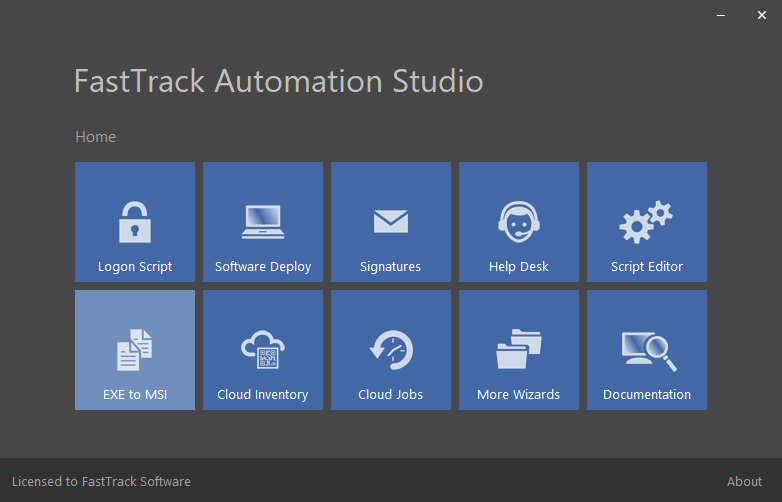
The first step is to start the EXE-to-MSI wizard (also known as Deployment Package Wizard). Simply start the "EXE to MSI" icon on the Home screen.
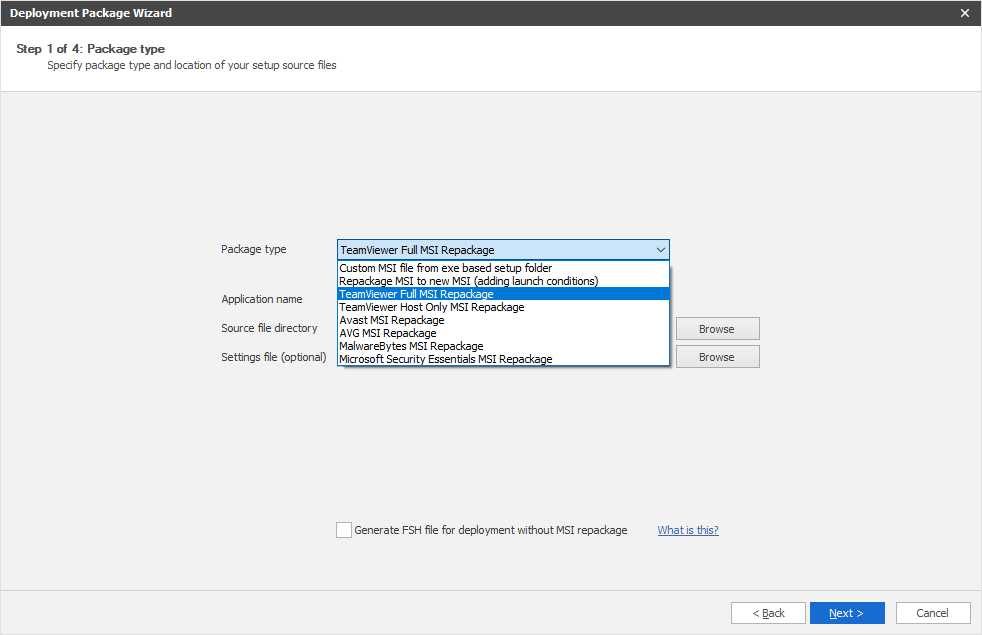
On the second page of the wizard, the type of output package must be selected. Here we must select TeamViewer Full or TeamViewer Host in the list.
There are templates for TeamViewer, Avast, AVG, MalwareBytes and Microsoft Security Essentials, but you can repack any type of installation using the top
two options, which is explained further down this page. The templates options are basically just expanded versions of
the generic EXE-to-MSI, which is the first option in the list.
The current setup file for the full version (Viewer and Host) must be downloaded from the front page of
www.teamviewer.com
and placed in the working directory that you specify as the setup file directory.
The wizard will look for a file starting with "TeamViewer_Setup" in this directory,
as the setup file is by default named this and may be appended by a language string.
If you need to repackage the Host-only version, you can download the setup file
here.
For host-only, the wizard will look for a file starting with "TeamViewer_Host" in the working directory.
Convert to MSI or not?
At this point you need to decide, how to deploy TeamViewer. You have two options. One is to continue
the wizard and you end up with an MSI file. The other options is to use the checkmark at the bottom.
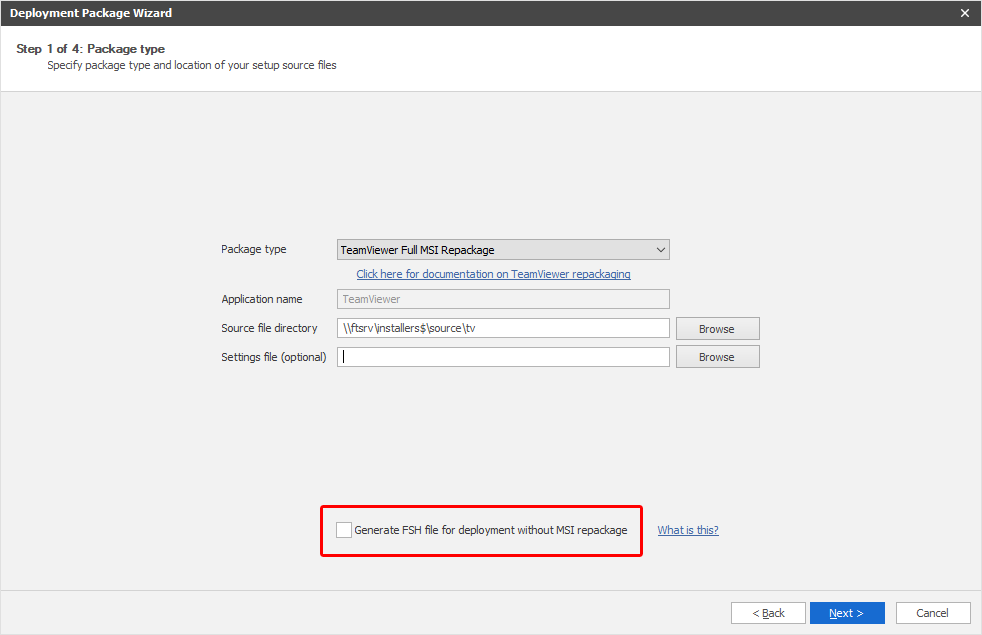
FastTrack Automation Studio can actually deploy software without a central management system. If you tick
the checkmark, the wizard will save the generated script files instead in the folder, where you have
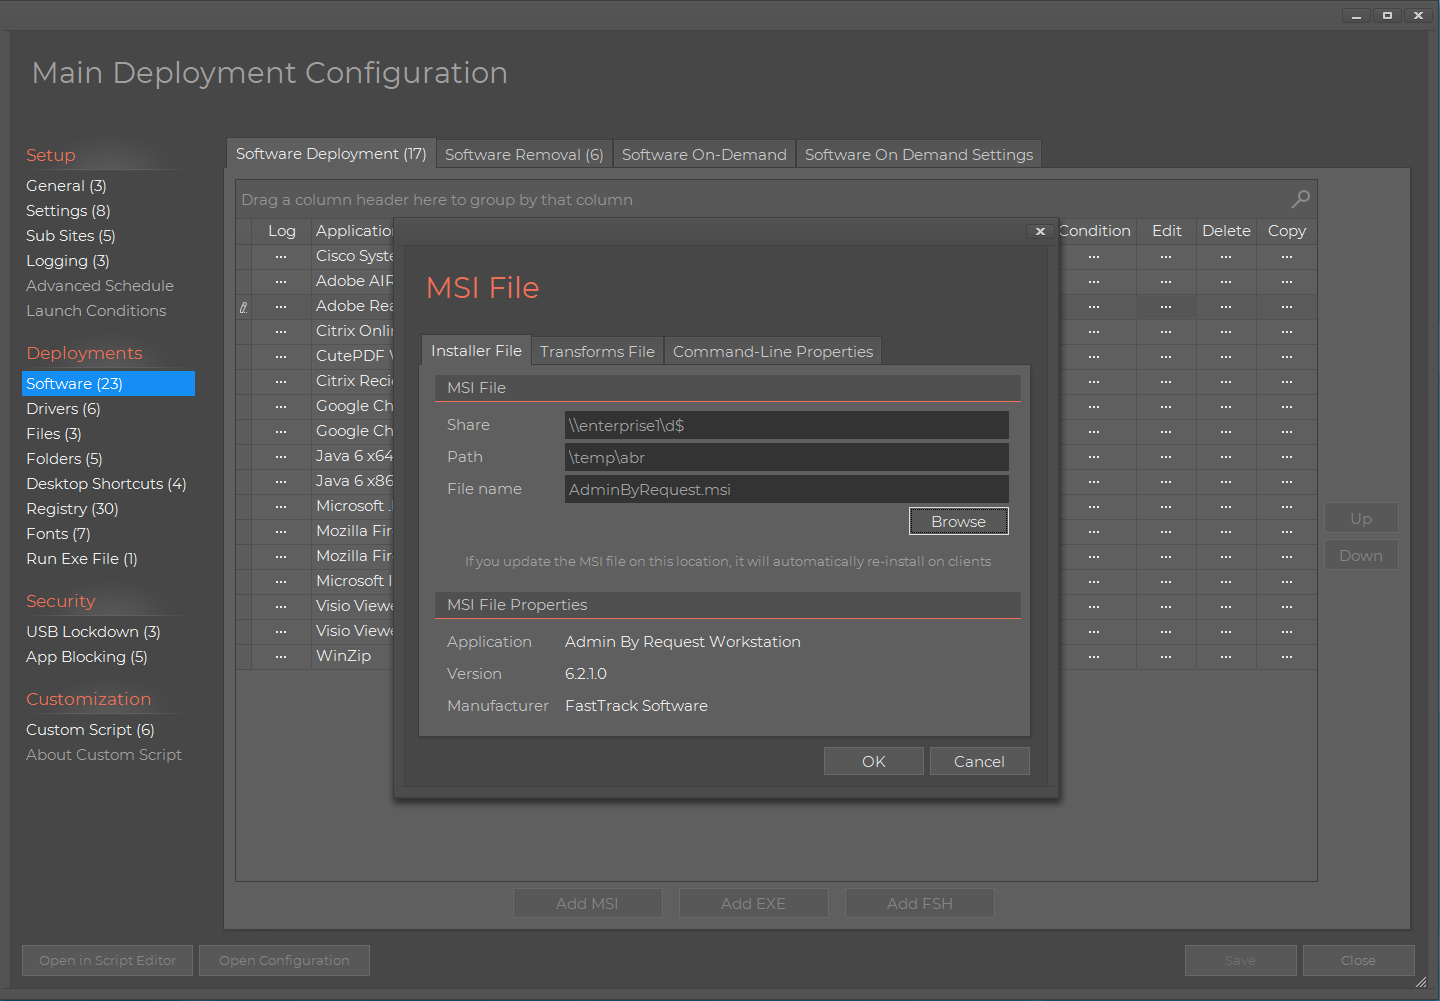
the TeamViewer setup file. Then you can click the "Software Deploy" icon in the Home Screen and simply
point to the script file instead using the "Add FSH" button shown in the screenshot below.
Refer to
this page
for more information on automated software deployments.
Keeping track of TeamViewer IDs using SkyBox
Once you have deployed TeamViewer to a number of computers, you need to know which computer has
which TeamViewer ID. The best way to do that is to set up a logon script and simply include the
cloud inventory option. It literally takes minutes to set up a graphical logon script to replace
your old one without writing any code - it's pure point'n'click to connect shares, printers,
install an Outlook signature, etc. Please refer to the
Logon Scripts Page for more information. Be sure to tick "Take hardware and software inventory to the cloud".
TeamViewer IDs collection is a part of the standard inventory collection for
SkyBox.
This is the Logon Script Builder:
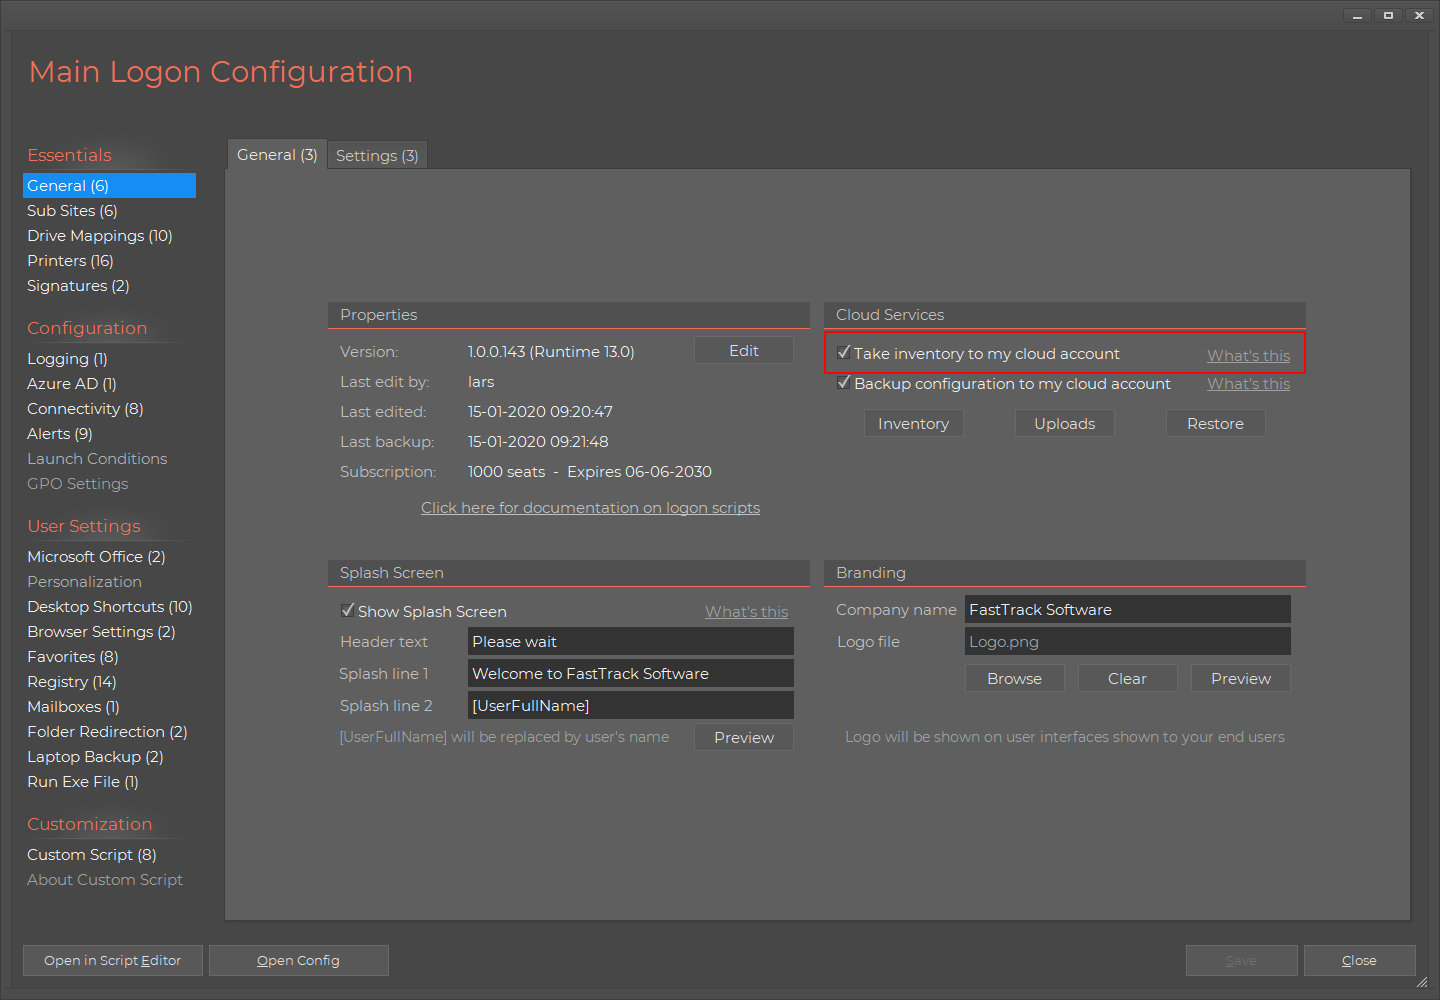
You can also use the same inventory option on the General tab in the Software Deployment wizard,
if you used the deployment option explained in the previous section, as shown
here.
Once you have your logon script set up, the free your cloud inventory that comes with your license, will automatically
include TeamViewer IDs.
Including license key, password and other settings (optional)
You can include an optional TeamViewer settings registry file. If you do not do this, you will be using the free
version. To create a reg file with settings and/or a license key, open TeamViewer on a reference computer and
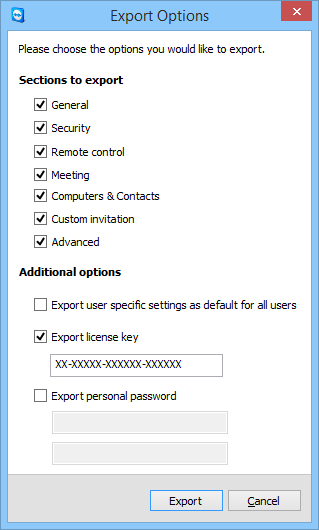
select Options in the Extras menu. Under Advanced, select "Export options to a *.reg file"
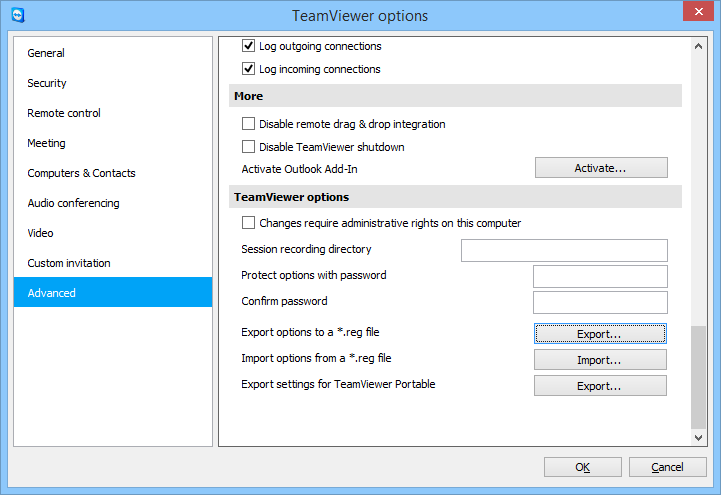
If you need to deploy a TeamViewer license, make sure to check "Export license key", as shown below.
Once the options *.reg file is saved to disk, close TeamViewer and go back to the wizard and
enter the newly exported file in the "Settings file (optional)" textbox.
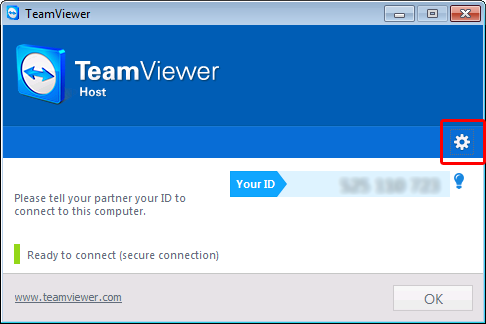
If you are repackaging the host-only version, it works the same way, except that there are fewer options.
The options windows is opened by clicking the gear icon, as shown below.
Launch conditions
Clicking next in the wizard will show launch conditions,
which allows you to not install TeamViewer under certain conditions.
This means that you can deploy the package to an entire OU or container in your Active Directory
with Group Policies and avoid having it install on for example servers and virtual machines.
If you used the Software Deployment Wizard option instead of MSI repackage, the last pages do not show up
and you can then use the same launch conditions in the Software Deployment Wizard.
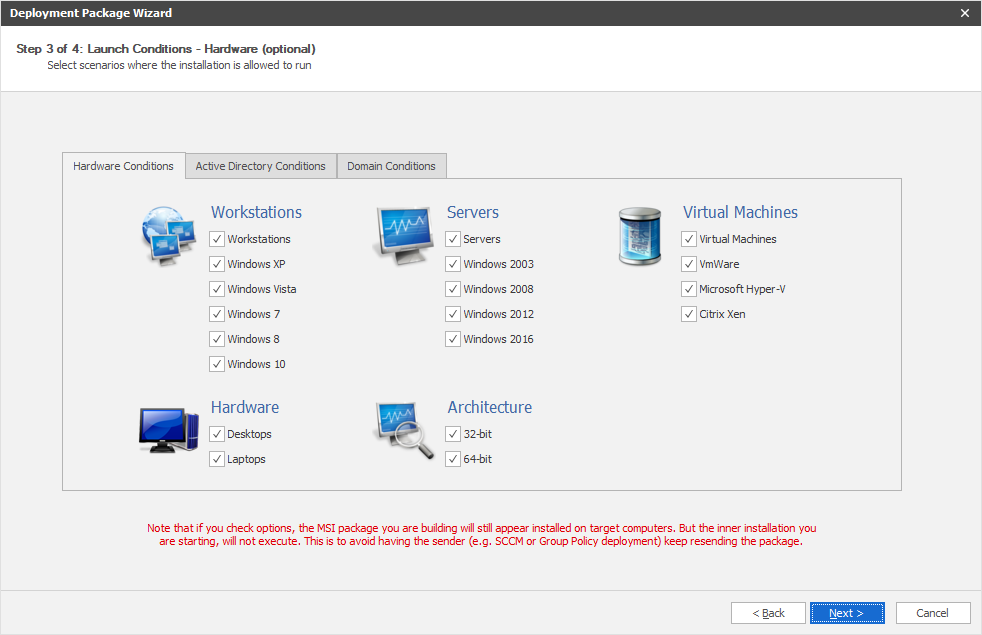
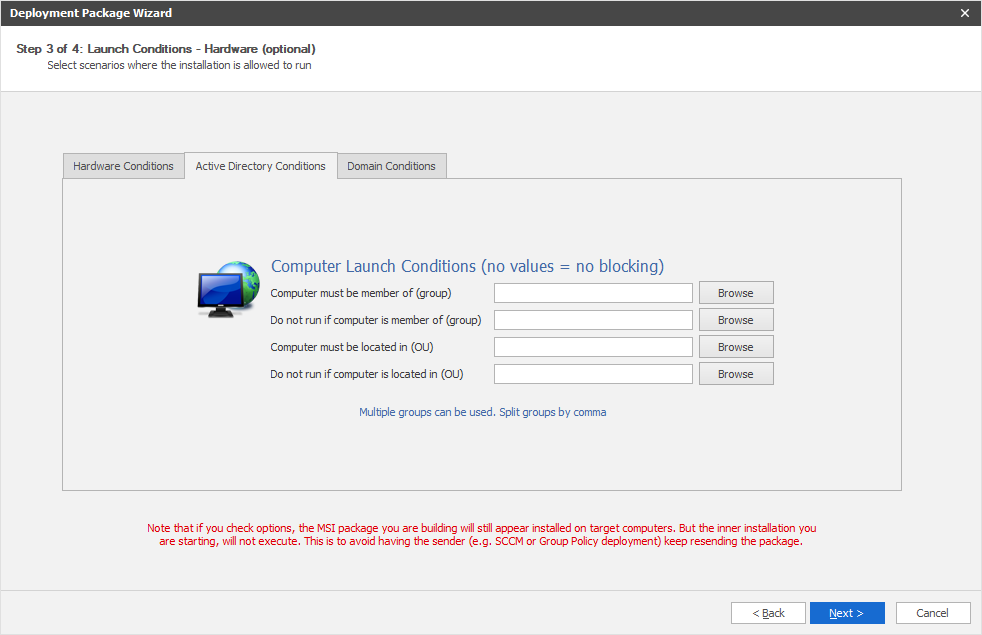
The first page lets you block on hardware and operating system. The second launch condition page lets you block based on
Active Directory information:
To understand how launch conditions can actually work with Group Policies, we have to look at what the wizard does.
There are generally four scenarios with FastTrack Automation Studio to create MSI files, as shown below.
What we are doing here is using the option to the left. The MSI that wraps around the TeamViewer setup file is always
installed, but it does not do anything other than register as an program in the Windows programs list,
if it hits a launch condition blocking. This means that from the point
view of Group Policies or SCCM, the installation is always successful and will therefore never try to resend
the MSI file. This is why there was also an option on the first page to use a setup MSI file inside the controller MSI,
because then you can let the controller MSI always install, but only install the setup MSI on certain conditions,
essentially allowing you to deploy all your software to all computers using Group Policies.

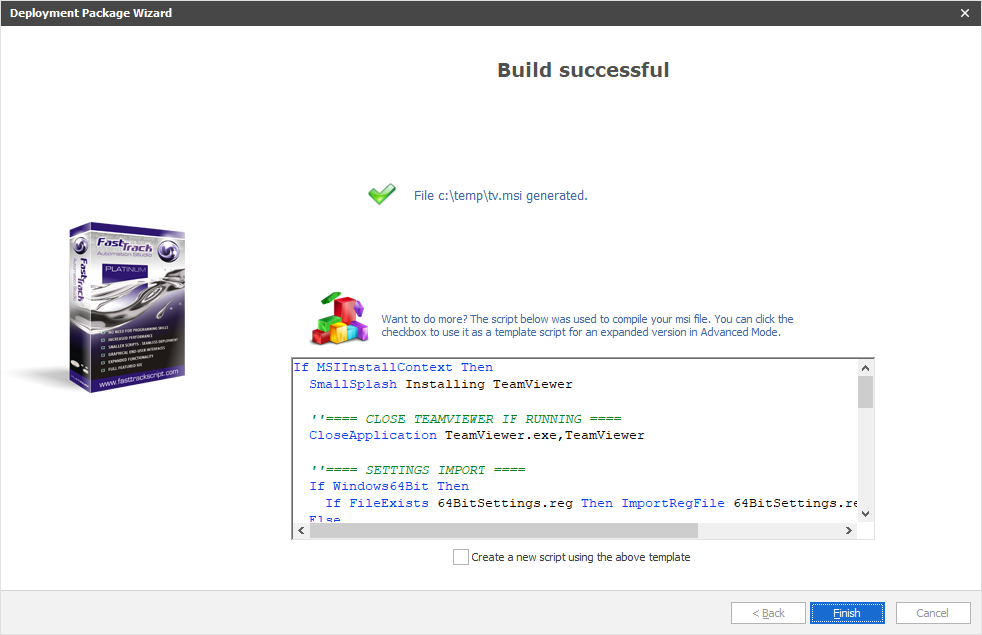
Clicking next in the wizard after launch conditions will ask you for name of the output MSI file. This is the controller MSI
file that contains the TeamViewer installer. On success, the complete page is shown. Notice how it displays a script that
you can open in the Script Editor and edit. Essentially the wizard does nothing more than compiling this script and your
TeamViewer setup file an MSI file. If you are not happy with the installation script or your need to expand it with,
say licensing information, you can just open and edit the template script in the Script Editor and save
it to the same folder as the TeamViewer setup file. You are now using the third box in the
drawing above, where you build your own custom MSI package. This is explain in a more detail at the bottom.
Note that if you used launch conditions, you will notice that conditions were inserted at the top of the script, which
is why it is a good idea to let the wizard create a template script, in case you need to extend or modify the functionality.
 That's it!
 You now have an MSI file that will install TeamViewer unattended,
which you can now assign as a software installation to Group Policy.
As a general advice for Group Policy MSI deployment, you should check the
uninstall option, to make sure that your MSI file will uninstall on all machines,
if you remove the GPO MSI package.
If you are using a trial version of FastTrack Automation Studio, the package will only deploy to 5 computers,
as this is what the trial edition allows - the rest will behave similar to launch conditions,
where the setup exe is not executed.
Similar articles exist for
Avast,
MalwareBytes,
AVG and
Microsoft Security Essentials.
Expanding the script
If you need to modify or expand the script generated by the wizard, you must check the "Create a new script
using the above template" on the last page of the wizard and save it to the same folder as your TeamViewer setup exe file.
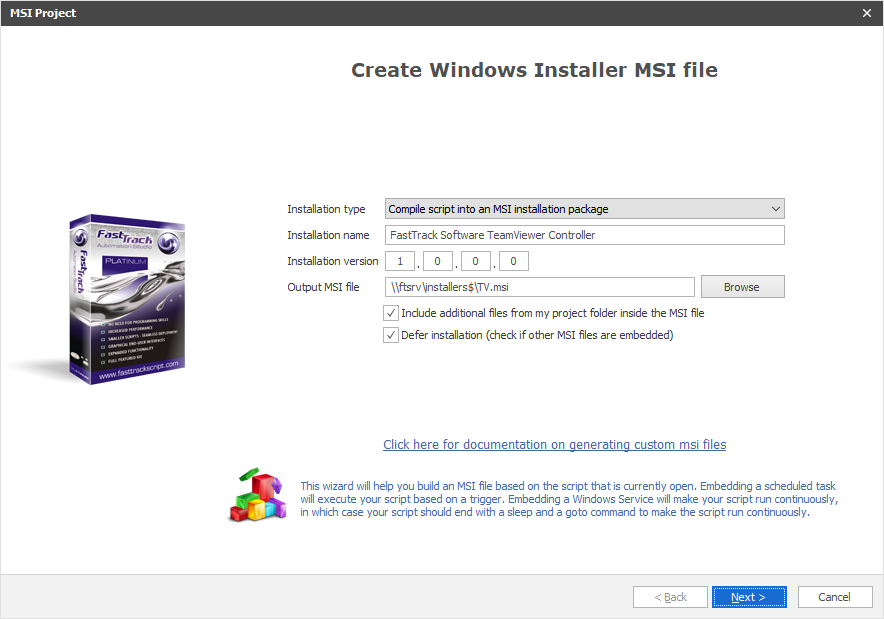
Once you have modified the script to your needs, you must use the "Compile to MSI" option in the top menu.

The MSI generation wizard will open, as shown below. Please make sure that:
- You check "Include additional files from my project folder inside the MSI file".
- You check "Defer installation".
- When you get to the page to select additional files inside the MSI file, make sure to check your TeamViewer setup exe file.
- If you exported TeamViewer options, make sure you include the two reg files that the wizard created in your setup folder.
Keeping track of TeamViewer IDs using SkyBox (alternative)
As explained further up this page, you can set up a graphical logon script to collect your
TeamViewer IDs. If you do not wish to do that, you can collected the inventory data as part
of the MSI deployment. This will however only collect the TeamViewer ID on the computers you
install the MSI package on, it will obviously not work from computers, where TeamViewer is
installed manually. If we go back to the wizard, there was a checkmark
named SkyBox (SkyBox is the cloud-based version):
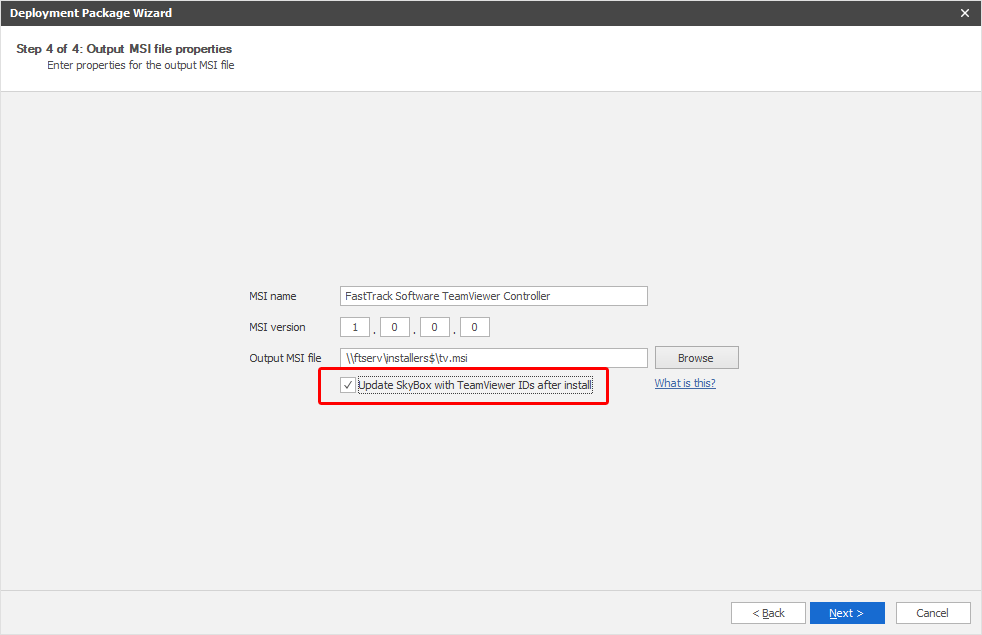
If you click this, inventory data is collected after installation, including the TeamViewer ID.
Once you take inventory, you can simply click "Inventory" in the Home Screen and select
"Access My Cloud Inventory" in the drop-down. You are now taken to your account at
SkyBox,
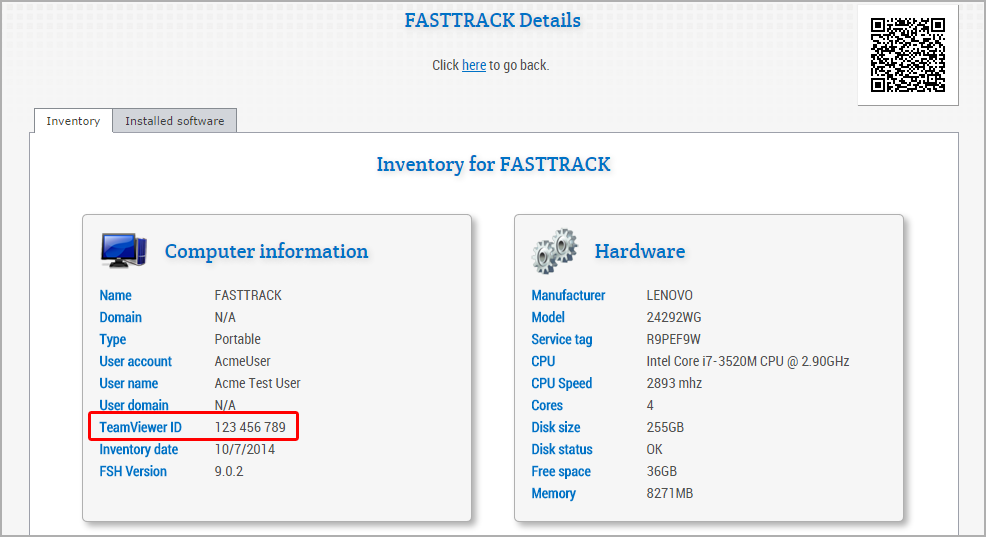
where you can look up your computers. On the detail page of a computer, you will find the TeamViewer ID, as shown below.
If you need to do on-site service for clients and/or servers, you can print the QR barcode and attach to the server.
Then you can scan the barcode with a cell phone and get the inventory page for that server.
For a description of taking inventory by other means than an MSI package, refer to the
SkyBox page.
Keeping track of TeamViewer IDs using a central XML file
Another approach is to use a central XML file, which gives you the advantage to be able to make a small utility
for yourself that will automatically convert an internal computer name to the TeamViewer ID and start a session.
The key to do it is to use the TeamViewerID function in FastTrack, which returns the TeamViewer ID on the
local machine. One way to do it is to expand the MSI package script (see further up) and
simply log it to a central file on install. This line added to the script after install
will write the TeamViewer to one central XML file:
WriteXMLValue \\AcmeServer\data$\TeamViewerIDs.xml,Clients/[ComputerName],[TeamViewerID]
The XML file is assumed to be located on a share named data$ on a server named AcmeServer and the WriteXMLValue command will overwrite any existing value that might exist.
A better approach, however, is to build a standard TeamViewer package and then collect TeamViewer IDs in a
FastTrack Logon Script.
You can just include the above script line anywhere in the logon script.
This will give you the advantage of getting all TeamViewer IDs for all computers on the network,
not only the ones repackaged by FastTrack.
Converting computer name to IDs automatically
Once you have a central XML file in place, you can write a small converter script for yourself.
All we have to do is to look up a computer in the XML file and use that to start TeamViewer.
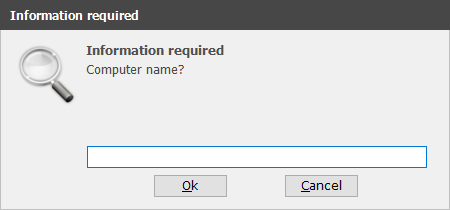
This simple script asks you for a computer name and starts TeamViewer using the ID from the
XML file and it assumes that the remote password for all computers is "1234". You can leave
out the last parameter with the password to have TeamViewer ask for password instead.
Set Computer = [Input Computer name?]
LaunchTeamViewer [XMLValue \\AcmeServer\data$\TeamViewerIDs.xml,Clients/[Var
Computer]],[EncryptPassword
1234]